g+1

Wednesday 10 August 2011

Random Re-touching

There are countless ways to enhance/retouch a photo, ranging from correcting colour casts to completely reshaping a chosen subject from an image, of course, not all images need the full shabang so to speak and some clients may not want certain things doing.
Photo Enhancement is a preference thing, I prefer the more natural retouching.

For this tutorial I'll be using the photo found below, taken by a friend of mine.
http://www.flickr.com/photos/jwaphotography/5832805138/sizes/l/in/photostream/

+57 Saturation
First I add a Hue and Saturation adjustment layer..
Before
After


Next, I select the Dodge tool. The Dodge tool lightens the selected pixels and the Burn tool lightens the selected pixels, Always be cautious using these tools as over-use can cause image degradation.
Dodge tool selected

Dodge tool  settings.


To avoid image degradation and to maintain the natural look of the photo, I only use the dodge tool a small amount, to lighten the shadows.

Post Dodge

Next, I select the Spot Healing tool, The key to using  the spot healing tool is Brush size, I adjust the brush size using the keys '[' for down and ']' for brush size up and ensure that the brush size covers the spot that needs removing.
This tool is extremely powerful and can clear up skin in no time, as long as you stay away from eyes and other  highly detailed areas.
Before spot heal


After spot heal

As  you can see, the skin appears much clearer post spot healing.

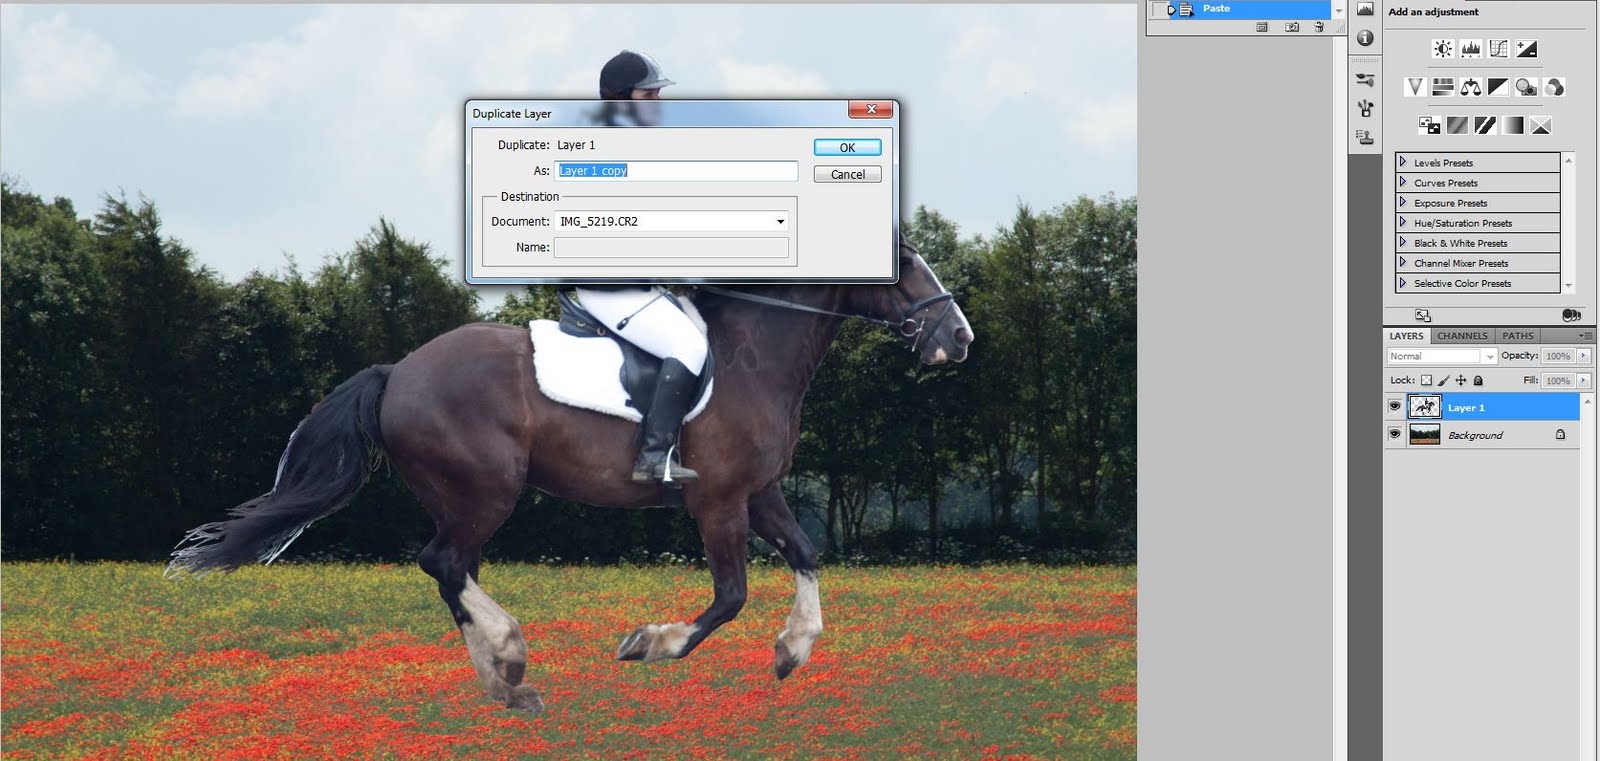
Next, I duplicate the layer by right clicking on the layer and clicking 'duplicate layer', on the new duplicate layer I apply some surface blur by going to filter->blur->surface blur.

Surface blur

Note that the pixel radius and threshold change the blur of the photo, I choose to apply a lot of blur and then control the effect through the opacity options.
Using a mask (if you don't know what masking is, see my tutorial here) I hide the details I wish to remain clear from the blur, eyes, mouth and hair in this case however some photos look better with the clothes un-blurred too however I like the look for this particular image.
Blur applied


Next, I change the layer opacity, the lower the opacity, the less the effect of the blur layer. For this image i used 37%


There are more things I could of done such as white out the background but for now, I'm going to stop here.


retouched image
Original image


If you would like specific topics covered, leave feedback :)

Tutorial by The Photoshop Sensei


Tuesday 9 August 2011

Changing a background

First, I select what subject, in this case the horse and rider.
If you want to learn how, see my Selection tutorial here

Selection made using quick mask

Cut the image, using Ctrl+X, then I find a suitable background.

Once I am happy with a background image I paste the previously cut subject onto the background image using CTRL+V, note that the image looks un-natural due to the size, angle and jagged cutting out, so I fix it..

But first I duplicate the Layer with the pasted subject on for later use, for now I make the layer invisible.


I then go to edit -> free transform of CTRL+T, I grab the corner to resize the subject (hold shift to maintain the correct scale)

Next I right click and choose 'Perspective' and drag the top inwards to change the perspective of the subject.


I'm now going to smooth the edges, one way to do this is by applying gaussian blur however my preferred method is to use a soft brush to mask the edges of the subject.
I apply a mask instead of deleting because you never know when you are going to need the information which gets deleted when using the erase tool, instead I apply a mask, which can always be edited (until applied atleast)


Burn tool icon
Next I use the Burn tool to make the subject look natural, what I mean is so that the whole image appears to be lit by the same light source, in this case it is the Sun.


More natural lighting - using the Burn tool
Note that I currently have the subjects layer selected (common mishap)
Also note that if the Lighting matches up, or you prefer not to adjust the lighting then skip this step.

.
So, back to the Duplicate layer, turn the visibility back on, Click the layer whilst holding CTRL to select the image outline, then Edit->fill, choose 'Black' from the drop down menu.


Next I go to Edit->free transform and scale the black filled subject to about the size of the actual subject as this will be the shadow.

Next I flip the layer, Whilst in Free-transform, Right click->flip vertical  and the image looks like this..


Next, I drag the shadow to where I want to position it, in this case the near side.

I then Right click and select the warp tool. I then drag and warp the shadow to look more realistic.
The goal of this is to connect  the shadows feet to the subjects feet, to make it look realistic.

Next I change the Layer opacity from 100% to make the shadow look realistic, for this I chose 28% but its all down to preference/other shadows in the image.


Final image:


Happy Background swapping!
Keys to success -
Patience is the key whilst selecting the subject to cut out.
Subtlety = Realistic


Tutorial brought to you by The Photoshop Sensei


Friday 5 August 2011

new page added

New page added - Quick selection tool and quick masking tool, to make the most of selecting!

As always, feel free to leave feed back, requests or anything!

Wednesday 3 August 2011

How to change Eye color in Photoshop cs5! Easy and Free tutorial.


The most important part for this procedure is the selection, once the selection is made, the eye colour can be changed in just a few clicks!

Starting image
changed to brown
Changed to green
Eyes changed to Ice Blue
Selection Page detailing what selection method to use for different photos, as well as how to use them will be up very soon.

For this particular image I used the Quick mask Selection tool located  at the bottom of the tool bar.
*Double click the icon and select 'selected areas'*
Again, the selection page will be up very soon! For now I'll try to explain it quickly but if you need more help ask google.

When Quick mask is set to Selected areas, whatever you paint in (indicated by red by default but can be changed) is then selected. for more information on Masking, see my tutorial here.

The area you want to select is painted in.

When the Quick mask  button is deselected


I am pretty much done, there are multiple ways to change the colour, for this I am using the Color Balance Filler adjustment Layer however there any of the Filler adjustment layers (Levels, Curves, Vibrance, Hue and or Saturation) will change the colour of the eyes.
Fill adjustment layer.

Adjusting these changes the colour of the eyes

This Tutorial was done by: The Photoshop Sensei.


Photoshop Body art, REALISTIC Tattoos

I wanted to post a Tutorial using the techniques that I have already covered, Layer use and Colour Balance as well as use of the transform tool.

I start by opening my  photo in photoshop..
Photo by Joey.


Click to Enlarge.


If you notice, the Model already has a tattoo of two stars.. That is a good thing because it gives me a REAL tattoo to base my fake tattoos on (colour wise).


Next, I select the Brush tool as shown in the image on the left, the brush I select is just a custom brush preset which you can download from various sources on the internet, or follow my tutorial here.


*Note the colour I chose, that was based on the tattoos already on the image.. However if an image does not have any real tattoos to base your selection off, then it depends on what colour you want for the tats. (I choose black mainly)


Brush on the Tattoo in the general position you want the tattoo. (best to use different layers as having multiple brushes on one layer makes it harder to work with later on in this tutorial)


To match the Colour I do two things. 
First I change the Opacity of the layer, best to do this by eye as its all down to preference.


Then I adjust the Hue and Saturation of the Layer the tattoo is on.. again this is preference, I tried to get the colour as close to the original tattoos as possible.
(if you need help with Hue and Saturation, go to my tutorial here)


Next, I need to make sure both the layer containing the tattoo as well as the hue and saturation layer are both selected, so click one layer, hold ctrl and click the next layer, then to go to Edit->free transform, rotate the Tattoo and perfect the placement, Later I will show some more complex ways of shaping the tattoo to look realistic but for a simple design and the placement both allow me to get away with minimal editing.

Only slightly changed the angle of the Star I added.


Next I create a new layer and Brush on another custom Brush preset.
A good way to make a tattoo appear real in photoshop is by using the blend mode dropdown menu on the layer tab. I prefer Multiply, but  if you prefer another setting, use that.


Another way to make a tattoo look realistic is to use the blur tool but first I am going to use edit->transform->warp to warp the tattoo into the shape of the models body.


Now that I have positioned the tattoo where I want it, I go to filter->blur-> Gaussian blur and set the 'Radius' to 0.5 pixels.. then press ok.

The final image looks like this


This realistic tattoo through photoshop tutorial was done by The Photoshop Sensei

Any request, feel free to leave a comment.